To draw takeoff, you select a Takeoff Item and then choose the appropriate tool.
Depending on the Type of Takeoff Items you select, different tools are available. Counts and Attachments provide only one tool (not much you can do with these other than place them where you want them), and others Types, such as Linears and Areas, provide several takeoff tools that give you options for how you draw takeoff.
Selecting the appropriate tool is important - some tools affect how you draw takeoff, for example you cannot draw a curved area if you grab the Rectangular Area tool, others make taking off objects easier (Rectangles, Ellipses, two-segment Linears, etc.).
At the top of each Takeoff Toolbar, is the  button. This is one of the most widely used tools in the program. When you want to select any object on the takeoff window (takeoff, annotation, textbox, attachment, punch item), to resize, rotate, setting length/slope direction, etc., you use the Select Tool.
We cover drawing takeoff in the Related Articles. Takeoff tools are detailed in the articles that explain how to perform takeoff for each Takeoff Item Type.
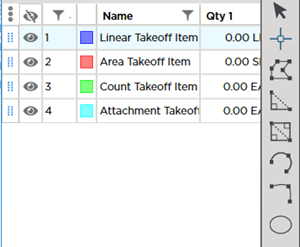
Linear Takeoff Toolbar
When you select a Linear Takeoff Item, there are a variety of tools available for drawing linear takeoff.

Linear takeoff tools are detailed in Linear Takeoff Tools Explained.
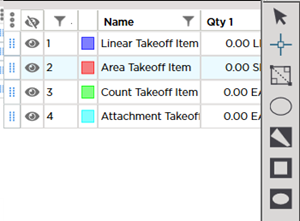
Area Takeoff Toolbar
When you select an Area Takeoff Item, there are several tools available, including "backout" tools.

Area Takeoff Item Tools are detailed in Area Takeoff Tools Explained.
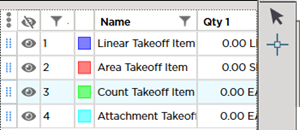
Count and Attachment Takeoff Toolbars
When you select a Count or Attachment Takeoff Item, you have only one option. The only thing you can do with a Count or Attachment is to place (drop) it on your plan.


 button. This is one of the most widely used tools in the program. When you want to select any object on the takeoff window (takeoff, annotation, textbox, attachment, punch item), to resize, rotate, setting length/slope direction, etc., you use the Select Tool.


 Image Legend Toolbar