In the bottom right corner (by default), you find the Pan Window and Indicator which shows a smaller view of the Page with an Indicator highlighting your relative position on the current Page.
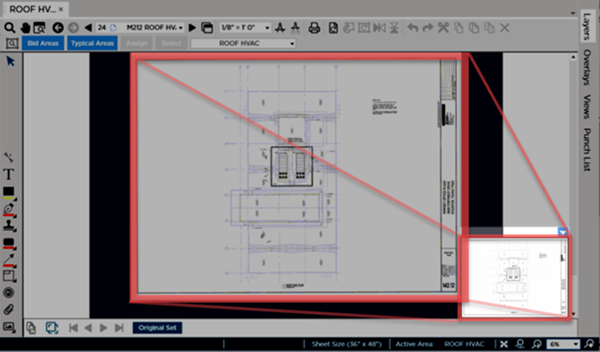
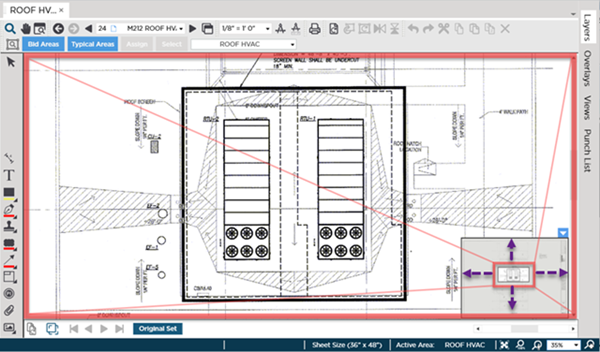
Here are two screenshots of the same Page, the only thing that changes is the zoom.

Zoomed out to a point where the entire Plan fits within the Takeoff Window and the Pan Indicator fills the entire Pan Window.

Zoomed in to a point where the entire Plan cannot be seen in the Takeoff window and Pan Indicator shows current view, relative to the entire Sheet.
The small, unshaded box within the Pan Window is known as the Pan Indicator and it shows (indicates...) what is being displayed in the Takeoff window in relation to the full Sheet.
You can move the Pan Indicator around the Pan Window to change the portion of a plan displayed in the Takeoff Window.
- Click once and the Pan Indicator (and the plan) moves to that location (with the Pan Indicator edge of where you clicked).
- Double-click and the Pan Indicator moves to the point where you double-clicked, centered on that spot.
- Click on the Pan Indicator and drag it (pan it) around the Sheet until you get to the position you want.
This is a handy way of moving around a large plan when you are zoomed in.
Collapsing/Hiding the Pan Window
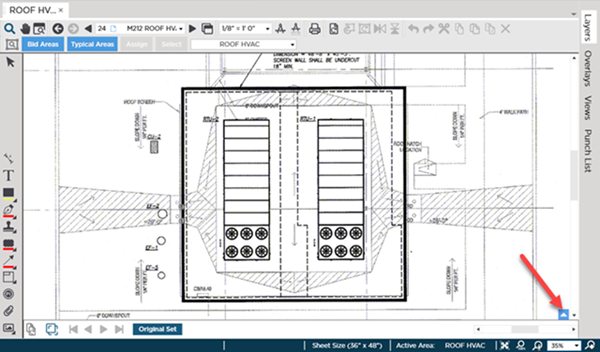
See that little blue triangle at the top of the Pan window? That's your Show-Hide and Move control.

Click it once and the Pan Window collapses, click it again, and the Pan Window shows again.
Docking the Pan Window in a Different Corner
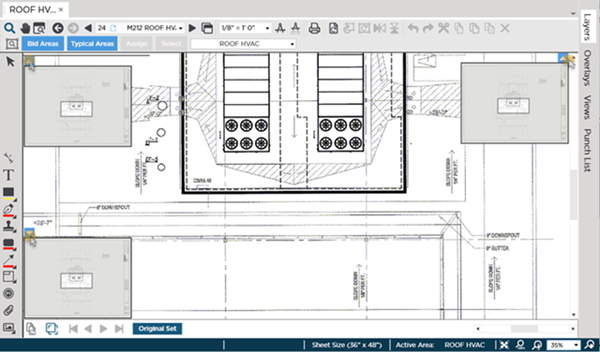
Using that same control, you can move the Pan Window to one of the other corners of the Takeoff Window.

Click and drag the control to one of the other corners of the Takeoff Window (the Pan Windows can only dock to a corner).


 Revision and Set Navigation Toolbar