A Dimension Line is just what it sounds like: a line that indicates distance between two points.
There are two types of Dimension Lines:
- Annotations that you draw using the Dimension Line Tool,
- Auto-Dimension Lines that the program adds to your Plans between nearby Linear takeoff objects.
You can edit Dimension Lines you draw using the Annotation Tool below, however the system Auto-Dimension Lines cannot be edited or adjusted. You can disable them, however, and we will explain that below, also.
Drawing a Dimension Line
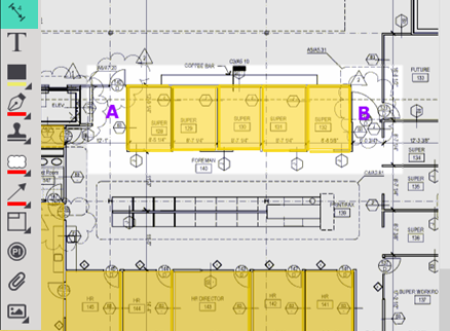
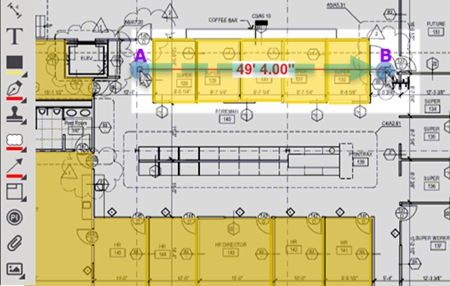
If we were looking at the takeoff below and wanted to know how long the span was, in total, from point "A" to "B", we could create a Linear Takeoff Item and draw that line, but this adds a Takeoff Item and a Takeoff Item Result to your Summary and Worksheet Tabs. To make a quick linear measurement on your Plan, you just grab the Dimension Line tool and draw a line.

To use the Dimension Line Annotation Tool,
Click the  button on the Annotation toolbar,
Click on point "A", hold down the mouse button, and drag to Point "B",
Release mouse,

Because Dimension Lines are just annotation (a markup), they do not affect takeoff objects nor are they are affected by takeoff objects.
Automatic Dimension Lines
The program can display dimension lines between nearby Linear takeoff objects. You enable this option in Settings by clicking "Show auto dimension lines". See Settings - Preferences for more information.
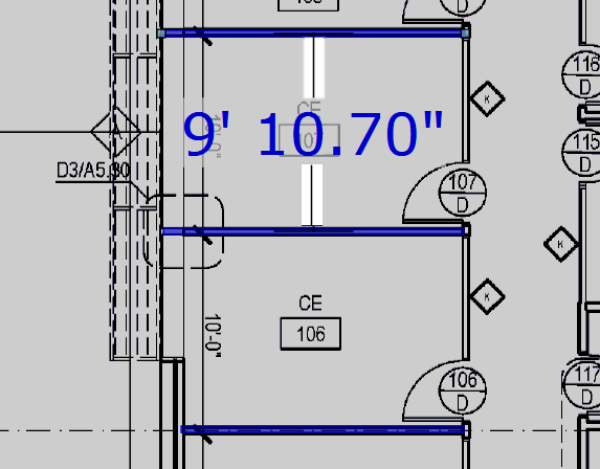
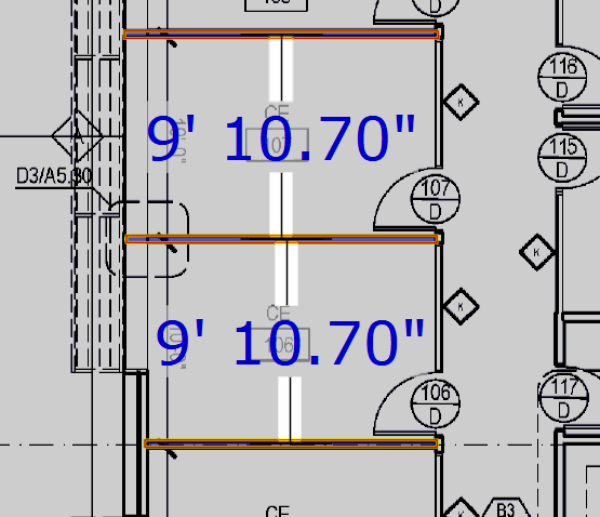
When you enable Auto Dimension Lines, and then select one or more Linear takeoff objects, the program displays the distance between the selected object and those nearby.

Single linear object selected

Multiple linear objects selected.
Because these "auto-dimension lines" are just popups, you cannot control them with Layers. If you find that they get in your way, just turn them off in Settings.


 button on the Annotation toolbar,


 Annotation Toolbar and Tools