Sometimes, in a rush to complete a rough takeoff, you may not be as detailed as you want, or after you copy and paste takeoff it does not quite match the destination, or maybe the scope of the job changes and you duplicate a project or bid to accommodate design changes, you will have to make adjustments to takeoff (and annotations) at some point. We focus on takeoff in the next few articles but annotations are adjusted using the same methods.
You should only copy/paste
takeoff between Pages with the same Scale. If you are copying and pasting
takeoff between differently scaled Pages, and the copied
takeoff contains Attachments objects or the
takeoff was close to the edge of the
Page, you may not be able to paste it or it may paste outside of the
Page boundaries. In this case, delete what you've pasted and draw the
takeoff from scratch on the new
Page.
In this articles and those that follow we cover re-positioning (moving) objects, resizing, rotating, spinning, and other options for manipulating existing takeoff objects.
Re-positioning Takeoff
Re-positioning takeoff objects is pretty straight-forward:
- Select the object
- While holding down the left (or standard) mouse button, drag the object where you want it to be.
Notice, while you are moving an object, the cursor becomes the "Re-position" cursor

.
Example
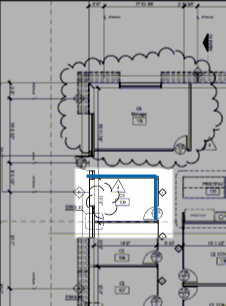
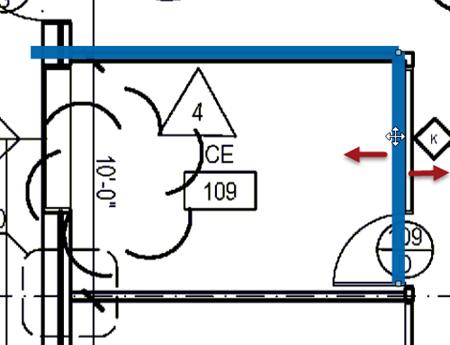
In this example, the two Linear takeoff objects in the un-dimmed section look like they match the Plan pretty closely...

However, if we zoom in, we can see that those objects are off just a little so we can't tell if they exactly match the Plans.
Yes, a minor difference in length doesn't matter so much for two, small linear
takeoff objects, but when multiplied throughout a
Bid, that could affect your cumulative totals significantly.

So, first, we click on that vertical piece of linear takeoff and try to position it, but no matter what we do, we can only make it move side to side, we cannot drag it vertically. Why?
By default, the program does not allow Linear objects to be moved laterally (up and down, or vertically on the Page). To change this Setting, click on your name in the upper-right corner of the screen (whether your in a Bid or on the Projects and Bids List), select Settings. In the Settings dialog box, remove the check mark for "Restrict Lateral Movement of Linears". See Settings for more information.
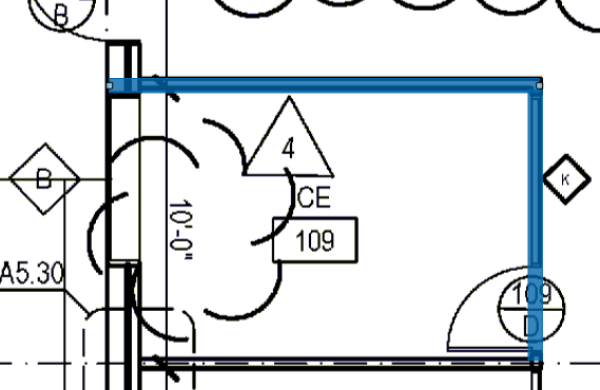
Once we have disabled that restriction, we can move both the takeoff objects to align them with the Plan.

Now that we have adjusted the position of these objects, we can see that they match the plan (in position and length). If they didn't...
We show you how to resize objects in the next article.
You can rope multiple objects and re-position them as a group, however, if any are linear objects, you may be restricted from lateral movement depending on how that option is set in User Settings.
You can use the arrow keys on your keyboard to 'nudge' takeoff objects up-down or side-to-side. This is especially handy if you select numerous takeoff objects and want to re-position them without using the mouse.

 .
.


 Copying and Pasting Area Takeoff Objects with Backouts