There are six Panes docked on the right-side of the application by default:
Each of these Panes, like all other Panes, can be shown or hidden, docked or undocked, or moved from one side of the application to the other.
The Layers Pane
The Layers Pane is where you create and manage Layers to which you can assign Conditions.
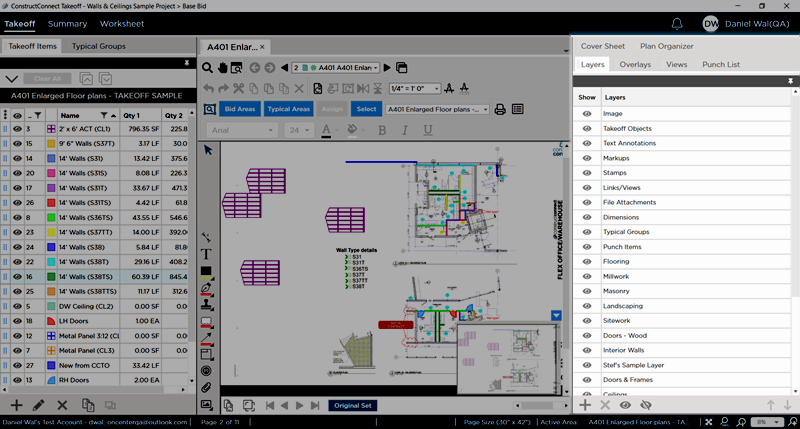
There are several default Layers added to every bid that you cannot edit, these are shown in the screenshot above. By default, all Conditions and their associated takeoff are assigned to the "Takeoff Objects" Layer, you can leave them there or you can assign Conditions to Layers you create - for example, you may want all your framing Conditions in a Layer named "Walls", and all your windows and doors in a Layer named "Openings". You can use Layers to show/hide takeoff in the Takeoff Window - much like transparencies.
We detail Layers later in this Chapter and how you use them when creating Conditions and Drawing Takeoff in Chapters 6 and 7.
^Back to Top
The Overlays Pane
Also docked on the right is the Overlays Pane.
Overlays is a powerful tool that allows you to compare two plans to identify differences quickly and effortlessly. Used for comparing revisions to see what has changed from issue to issue, Overlays also are used to compare different Disciplines to identify "collisions" that would cause construction issues.
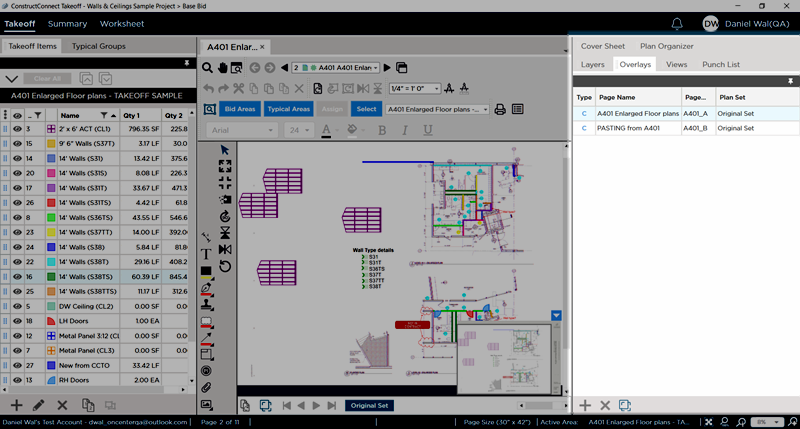
You can overlay any revision against a newer issue of the plan.
We cover Overlays in 12.04 What is Overlay?
^Back to Top
The Views Pane
The Views Pane, or more correctly, the Named Views Pane, is where you see a list of every Named View you create in the current bid. By default, the Views Pane is also docked on the right side of the application.
Briefly, a Named View is a defined region of some plan in your bid to which you refer often. For example, you may create a Named View for Details for constructing various building objects - you then place a Hot Link to these Named Views wherever you want to place a shortcut to that saved View. Then, to open the Named View, you just click on that Hot Link and the program opens the Named View in a new Takeoff Window, dedicated to displaying Named Views.
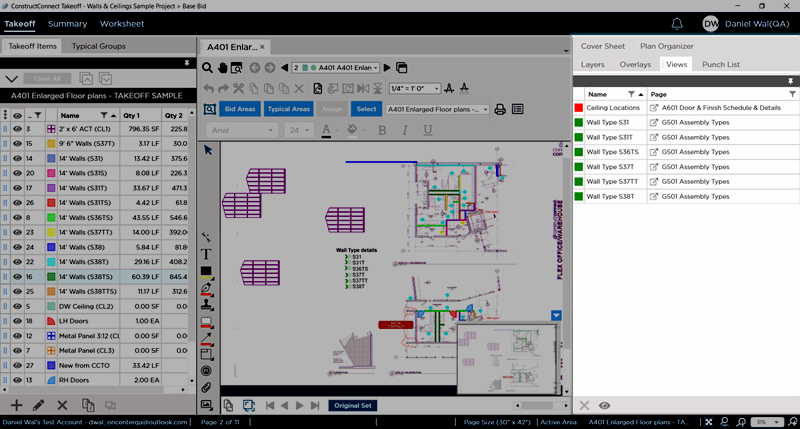
We cover Named Views later in this Chapter and in detail in 10.03 Named Views and Hot Links - Creating a Named View.
^Back to Top
The Punch List Pane
As your project and bid progresses post-production, you may identify items that need to be repaired, replaced, or completed before the subcontractor can call their work "done". Using the Punch List, and Punch Items, you place a marker directly on the plan, where the issues exists, so you can track what needs to be done, where, and by whom.
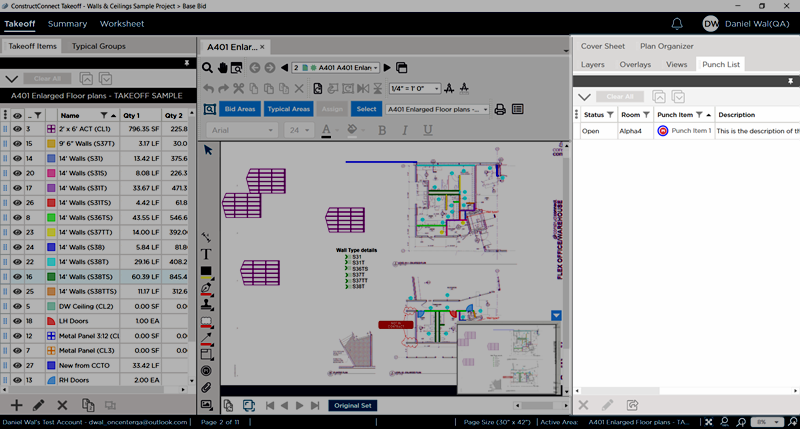
We cover Punch Items and the Punch List in detail in 10.04 Punch Items and Punch List Overview.
^Back to Top
Cover Sheet Pane
To adjust details about your bid, open the Cover Sheet.
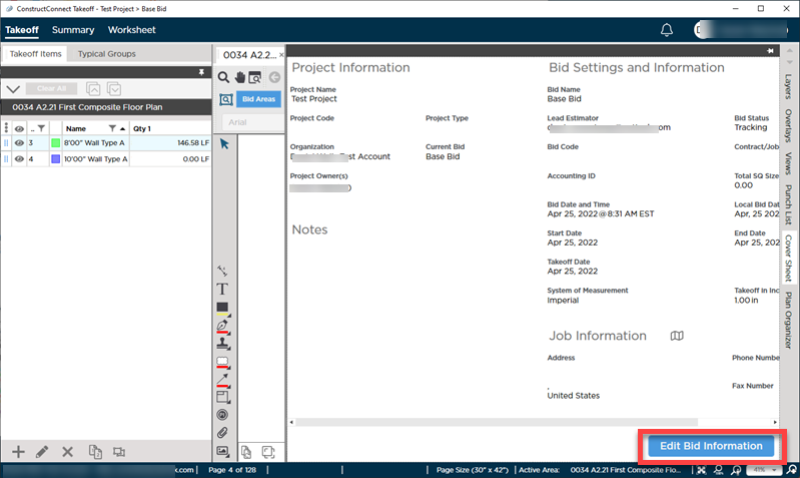
See 05.19 Opening the Cover Sheet from the Takeoff Tab for more information.
^Back to Top
Plan Organizer Pane
You can access the Plan Organizer to add, modify, or delete Pages and Plan Sets.
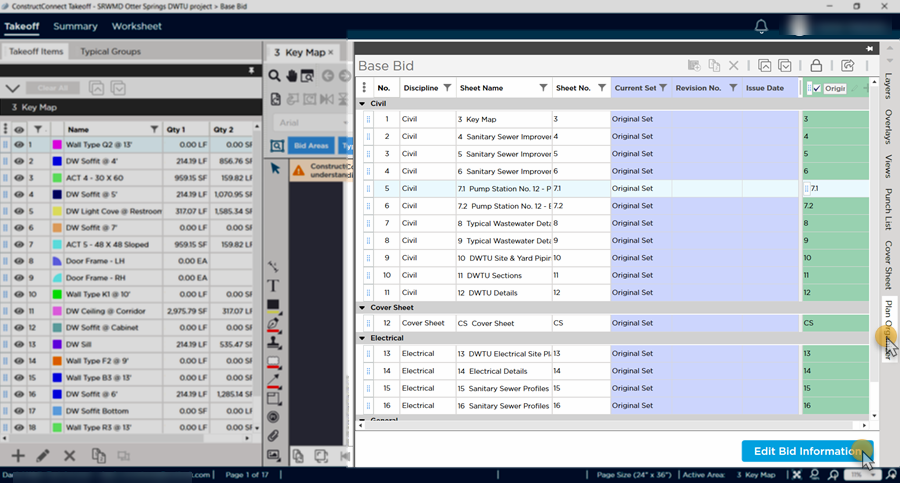
See 05.20 Opening the Plan Organizer from the Takeoff Tab for more information.
^Back to Top


 The Left Side Dockbar