You add (create, set up) Bid Areas in the Bid Areas dialog box, discussed in the previous article.
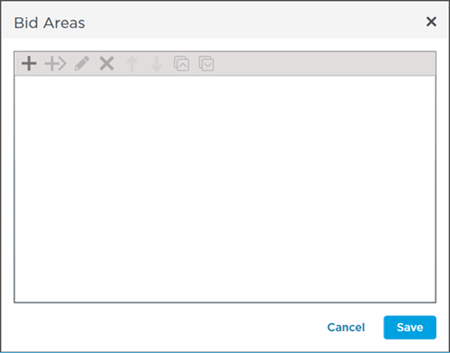
When you first open the Bid Areas dialog box, it will be blank.
To add a Bid Area, click  .
.
A new row is inserted where you enter a name for this Bid Area.
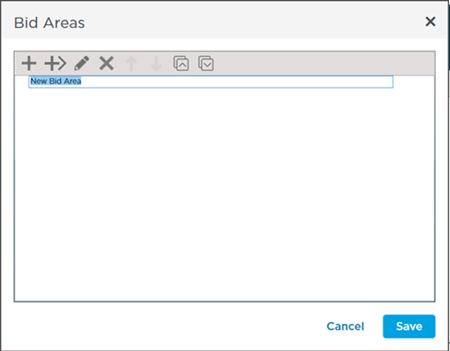
Enter in a name for this Bid Area and press <ENTER> on your keyboard and then,
- Click or press <INSERT> on your keyboard to add another Bid Area (at the same level, so if you had added Floor 1, this is how you add Floor 2)
- Click the Add Child Area
 or press <CTRL + I> on your keyboard to add a Child or sub Area below this Bid Area (so, let's say you created "Building 1" in step 1 and wanted to add "Floor 1" indented below it)
 - Click Save to close the Bid Areas dialog box (your changes to Bid Areas are not saved until you click the Save button)
Setting Up Bid Areas and Child Bid Areas
If you are adding multiple Bid Areas and Child Bid Areas, the fastest way to accomplish this is using the shortcut keys (<Insert> (<INS>) and <Ctrl>+<I>).
We recommend:
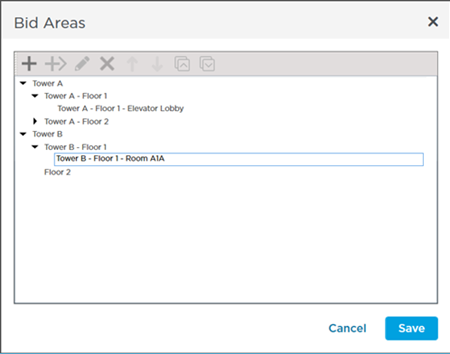
First, add all your first-level (highest-level) Bid Areas. For this example, we are going to create two buildings (called "Tower A" and "Tower B"). We add the two "Buildings" first because we can use the INSERT key to add them quickly.
After we create the two first-Tier Bid Areas, we click on "Tower A" and press <Ctrl + I> to create a Child Bid under that Bid Area. We name that "Tower A - Floor 1" (be sure to include the parent Bid Area's name in the Child Bid Area's name or you will not be able to tell them apart easily in the Bid Area drop-down).
Continue creating all the Child/Sub Areas under Tower A and then you can start creating the 'level 3' Bid Areas under those Child Areas (for example, "Tower A - Floor 1 - Elevator Lobby").
Name the Child Bid and press <ENTER>.
The program does not concatenate Tier 1, Tier 2, and Tier 3 Bid Area Names throughout the program so be sure each Bid Area and Sub Bid Area name is unique. In our example, if we had Floors 1 - 5 in two towers, we would want to name the sub-Areas, "T1-Floor 1", "T1-Floor 2" and "T2-Floor 1" and "T2-Floor 2". If you do not create unique names under sub-Areas, it is impossible to tell the sub-areas apart.
For an example of why you want to name your Bid Areas uniquely, see What are "Selected Areas" and the "Active Area"?
Now that you are at the second level, you use the <INSERT> key to add additional same-level Bid Areas (all Child Bids of "Building A").
The next article covers moving Bid Areas around within the grid.

 The Bid Areas Dialog Box, Toolbar, and Shortcuts