After you draw a backout (see Drawing Backouts (Deducting Some Area), the previous article), you can select a different Takeoff Item or even multiple Takeoff Items, and "auto-fill" the backout by double-clicking within the backout.
Auto-fill with a Single Area Takeoff Item
Select the 'fill-in' Takeoff Item, and double-click within the backout...
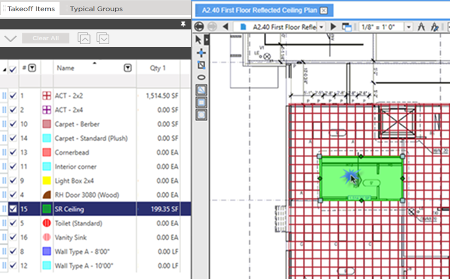
This works even if your backout is not a square...
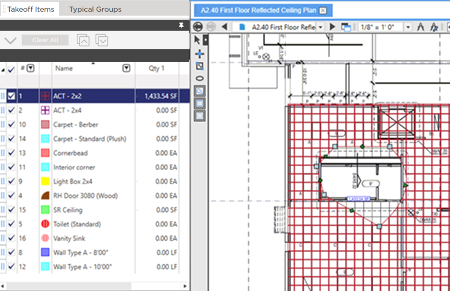
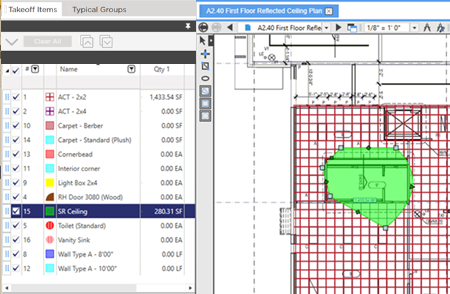
Backouts affect the original Takeoff Item's results - in our examples above, total square footage would decrease but perimeter would increase.
You do not have to use an Area Takeoff Item to auto-fill...
Auto-fill using Multi-Condition Takeoff
Let us start with the same Area takeoff as above.
We've backed-out the central area and now, we can choose one or more Area Takeoff Items, one or more Linear Takeoff Item, one or more Count Takeoff Item, or any combination of Takeoff Items to fill-in the backout area. This is handy if you need to measure the perimeter of the backout (Linear Takeoff Item), or even Count the number of corners. You can use multiple Takeoff Items when using Auto-Fill. See Related Articles for details on using Multi-Condition Takeoff to draw takeoff for several Takeoff Items at one time.
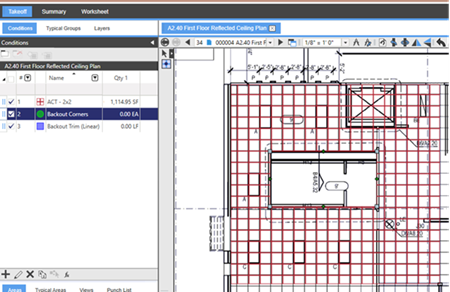
First, grab a Count Takeoff Item and double-click within the backout.
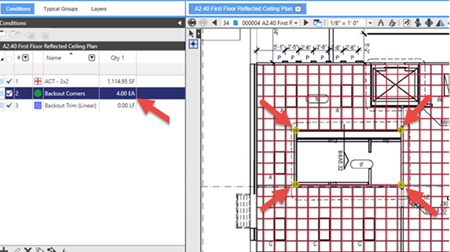
Notice, a Count object is placed at each corner.
Try the same thing with a Linear Takeoff Item...
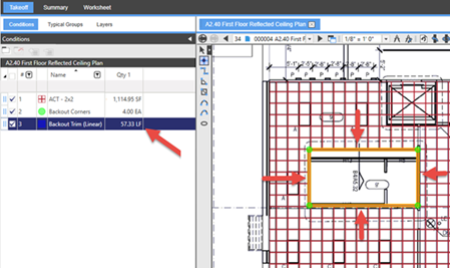
Notice, each edge of the backout, its perimeter, is drawn with that Linear.
See Related articles for more information on drawing "Multi-Condition Takeoff. You could easily have filled in the Counts and Linears with one double-click.


 Drawing Backouts